|
Selecting, Moving and Resizing Previews |
|
|
|
Selecting a Preview as the Current View Click a Preview's View Selector Dynamically Changing a Preview's Size and Position |
||||||||||||
|
|
||||||||||||
|
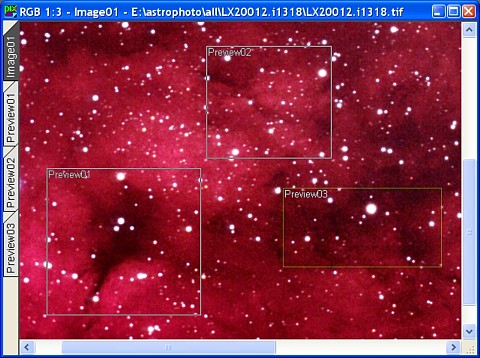
Selected Preview When you have more than one preview defined in the same image view, only one of them can be the selected preview at a given time —don't confuse this with the image window's current view. The following screen shots clarify these two concepts:
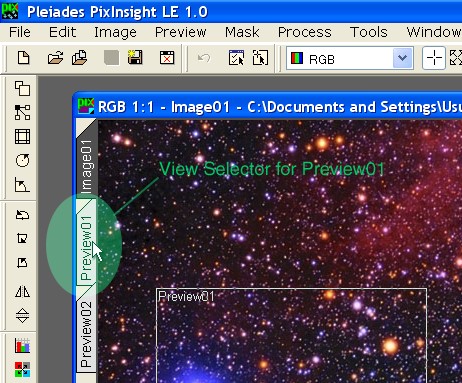
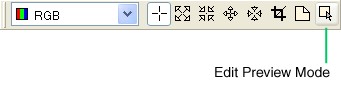
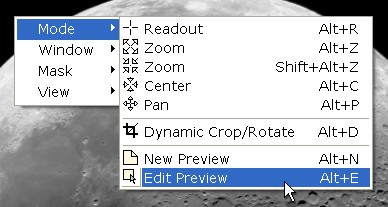
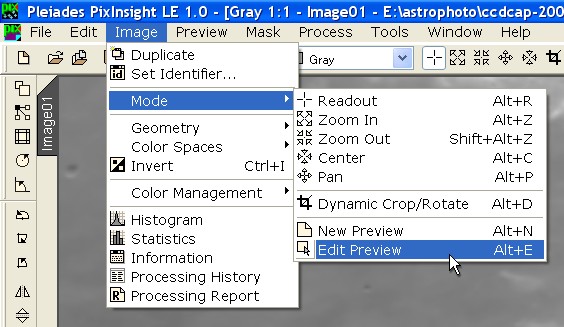
Selected preview rectangles are drawn with a special color; by default it is green, but it can be changed through global preferences. Most of the available preview operations can be performed very easily on the selected preview, including changing its properties, storing and resetting its subimage, destroying it, etc., without the need of changing the window's current view. To select a preview, the active image view must be in the Edit Preview mode. In Edit Preview mode, just click into a preview rectangle to select it. Selecting a Preview as the Current View To make a preview its parent window's current view, you can:
Note that each view has its own private zoom ratio and scrolling position. When you navigate through different previews and the image view, each of them remembers its state and restores its own image on the screen accordingly. Many interface elements, as enabled/disabled menu items, information shown on some status bars and window captions, etc., may change automatically to keep coherence with the status and characteristics of the currently selected view. Dynamically Changing a Preview's Size and Position This can only be done on the preview's parent image view in the Edit Preview mode. As happens with the New Preview mode, the Edit Preview mode cannot be selected for previews, since previews cannot exist in previews. Be aware that if you move or resize a preview, its subimage is reloaded from the image view, and the existing stored subimages and processing histories are lost.
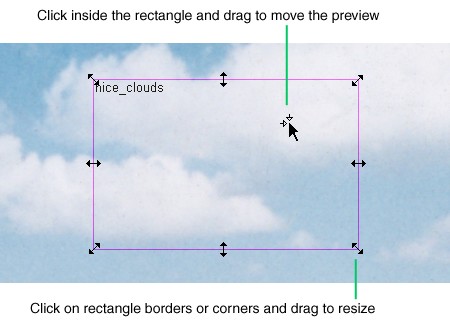
In the Edit Preview mode, note that the cursor shape changes as you move it over preview rectangles, to provide you feedback about the operations that can be performed if you click and drag at particular locations. The figure below shows all of these shapes and informs about what can be done in each case:
|
||||||||||||